01
Prepare Structural Sheathing
Start with properly secured structural sheathing with enough fastener capacity to support the 15–20 lb. per sq. ft. cladding load.

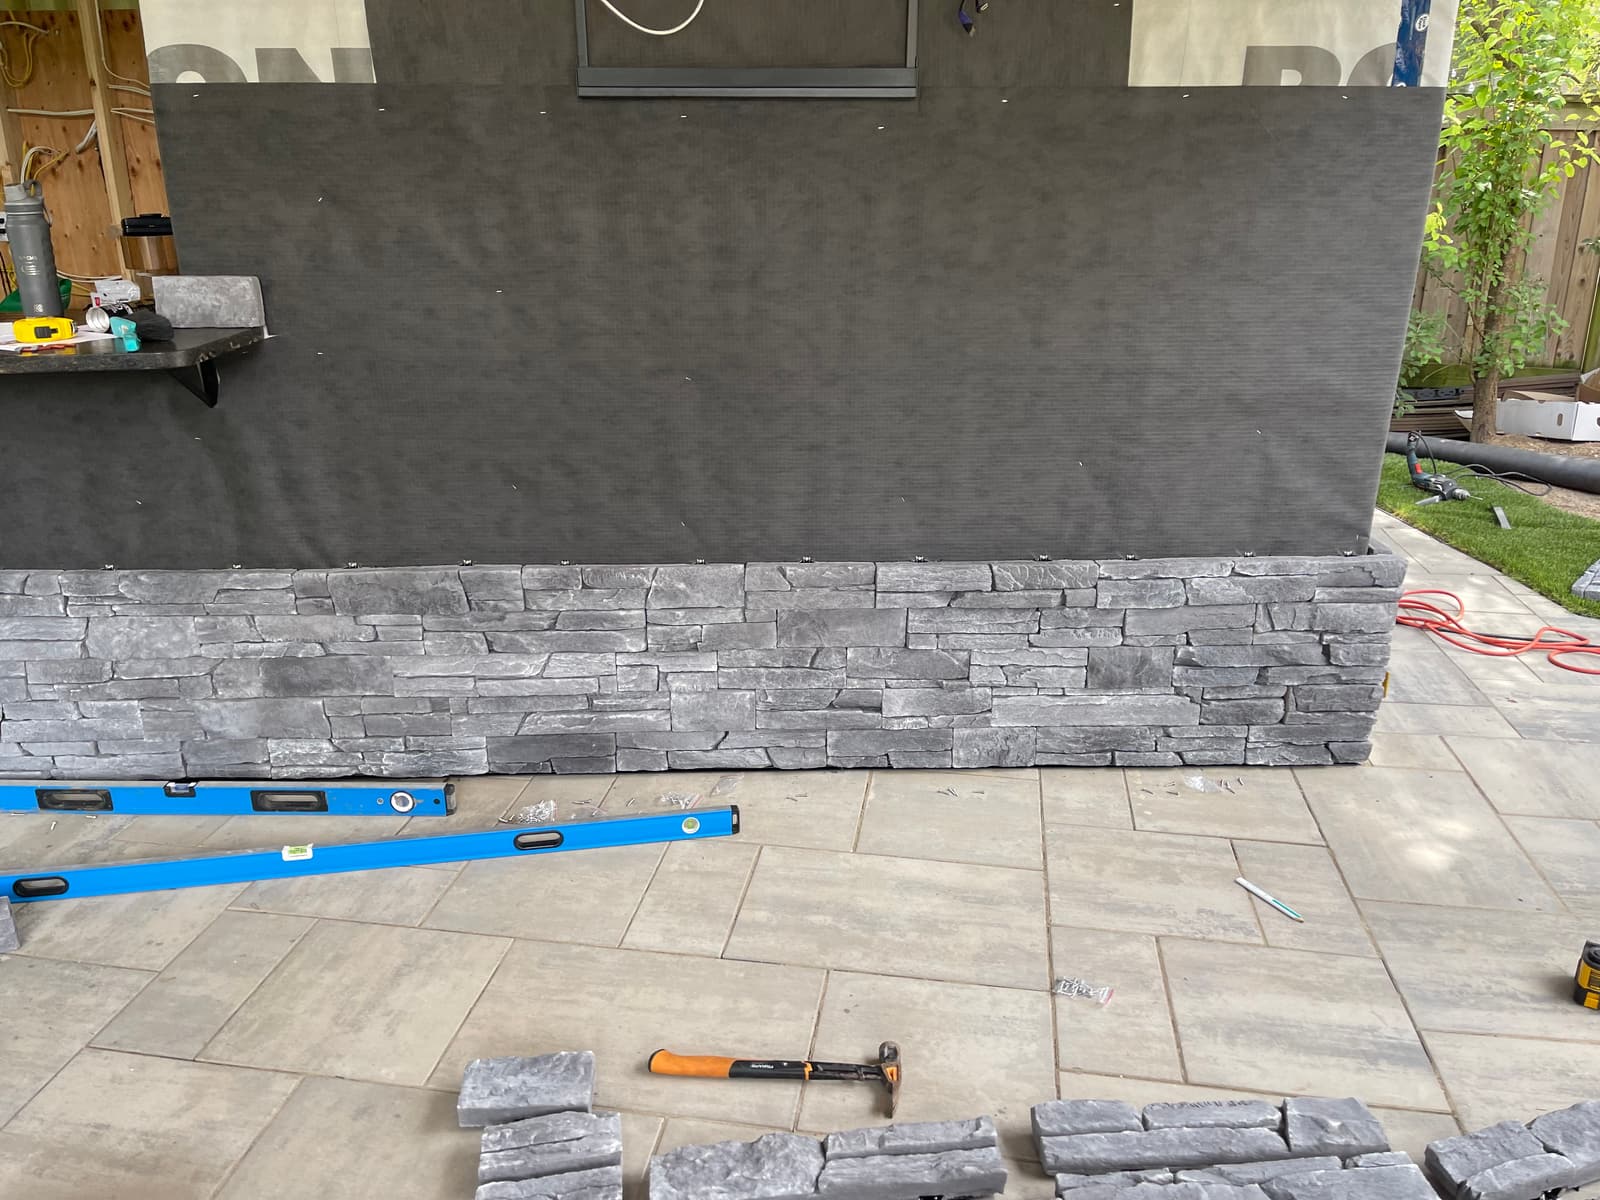
Prepare the wall correctly, manage water carefully, and let Sedistone’s mechanical fastening system do the rest.
What you see is stone. What makes Sedistone different is what happens behind it. The QS fastening system mechanically secures each stone unit while creating space for drainage and ventilation—all without traditional mortar.
Start with properly secured structural sheathing with enough fastener capacity to support the 15–20 lb. per sq. ft. cladding load.
Apply the appropriate weatherproof membrane, seal openings, and install flashing to direct moisture away from the wall.
Install the starter strip level with drainage holes toward the wall, leaving ¼ inch above the flashing for drainage.
Plan corners and openings before starting, and pull from four to five boxes to evenly distribute natural color variation.
Insert the QS spacer and stainless-steel clip, secure each stone with the provided screw, and stagger vertical joints as you install.
Keep factory-finished ends at visible openings and complete transitions with the appropriate sill, siding, flashing, or trim.
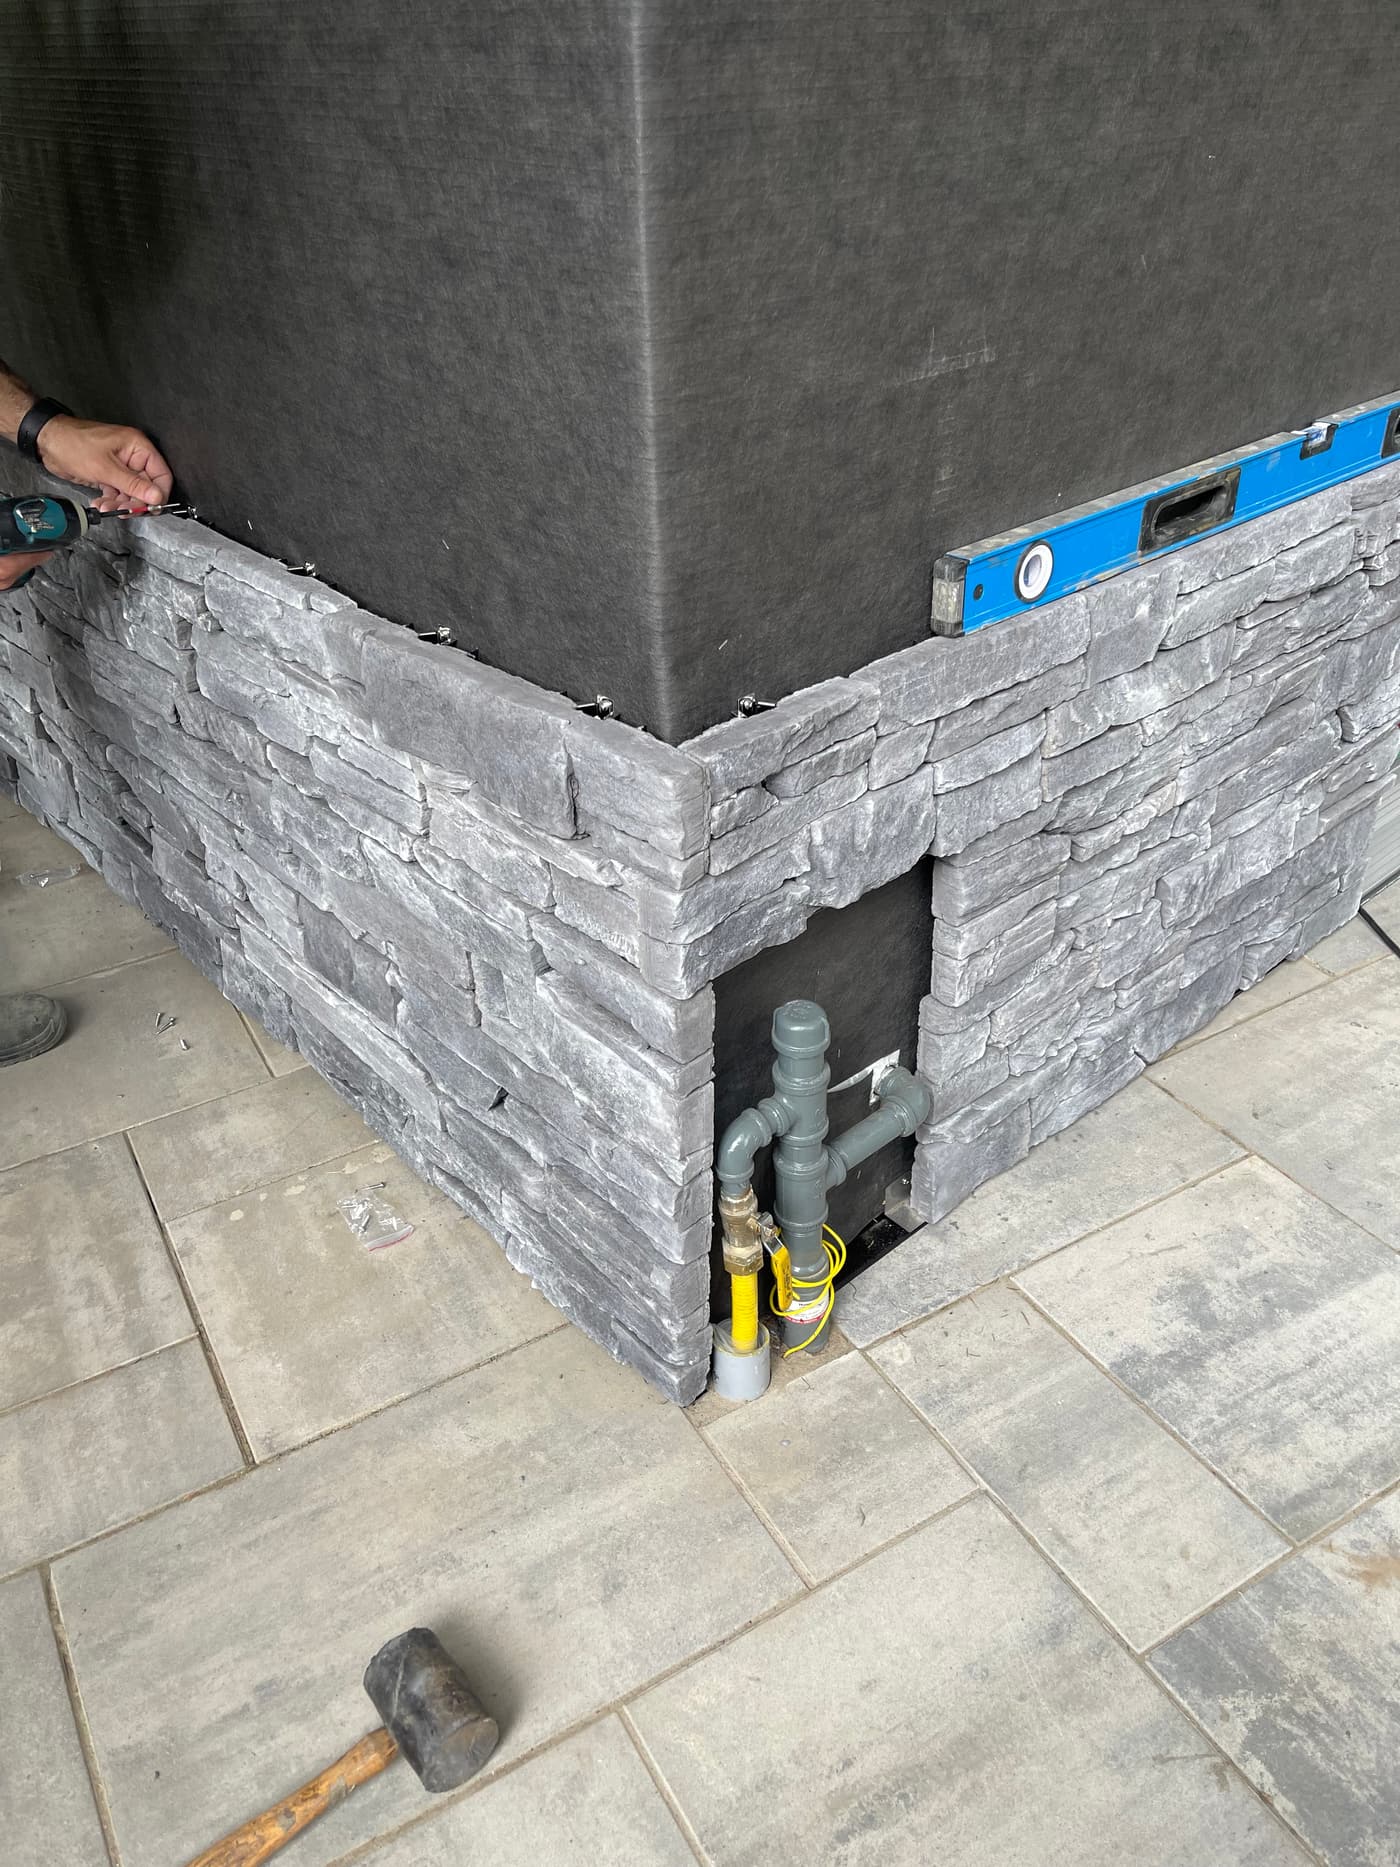
Typical construction tools cover most of the work. Use a diamond masonry blade for smaller projects or a masonry saw for faster production.
Tell us what you’re building, where it’s located, and how much stone you need. Our team will help with product and quote details.
Request a Quote